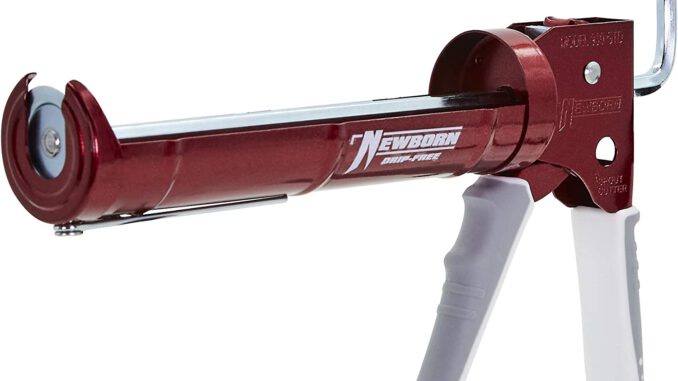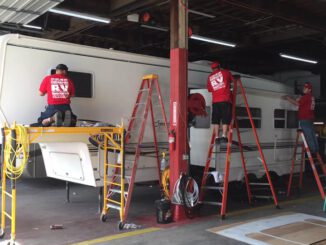
Completing RV repairs and maintenance is a whole lot easier when you have the right tools on hand. Reseal your RV with the BEST RV caulking gun! This is not only my “go-to” caulking gun, but it is also favored by my team of RV technicians.
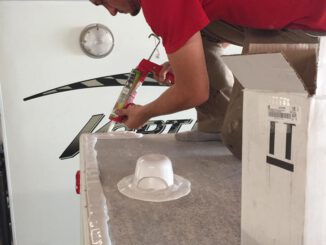
Join me in the video as I use it to reseal an RV.
Why we love this caulking gun
If you have ever resealed a complete RV roof or body, you know the level of pain your hand will endure from squeezing a traditional caulking gun trigger. This gun boasts a “gator trigger grip,” which offers more comfort and less fatigue.
My other favorite quality of this is the fact that it’s considered to be “dripless.” Pressure on the sealant/silicone tube is automatically released after each squeeze to stop any excess dripping.
It also has a spout cutter and seal puncture tool to conveniently open your tubes of product. Lastly, it has a ladder hook to easily hang on ladders or other surfaces while completing repairs.
I hope this tool makes your repairs and maintenance a little bit easier! You can find it on Amazon here for a great, affordable price.
Sealing an RV with a caulking gun
Sealing an RV with a caulking gun is a common maintenance task to prevent leaks and protect against the elements. Here’s a general guide on how to do it:
- Inspect the RV: Before you start sealing, inspect your RV for any visible cracks, gaps, or areas where the seal might be compromised.
- Gather Supplies: Get a high-quality RV caulk that is compatible with your RV’s material. You might also need a caulking gun, a putty knife or scraper, and cleaning supplies.
- Clean the Surface: Clean the area you’re going to seal thoroughly. Remove any old caulk, dirt, or debris using a cleaning solution suitable for your RV’s material.
- Apply Caulk: Load the caulk tube into the caulking gun. Cut the tip of the caulk tube at a 45-degree angle to control the bead size. Apply a steady and even bead of caulk along the areas that need sealing. Work in small sections.
- Smooth the Caulk: Use a putty knife or a caulking tool to smooth the caulk and ensure good adhesion. This also helps in creating a neat finish.
- Check for Gaps: Double-check for any missed spots or gaps. It’s essential to seal all potential areas where water could penetrate.
- Allow to Dry: Follow the manufacturer’s instructions for drying time. It’s crucial to let the caulk cure properly for it to be effective.
- Inspect Again: After the caulk has dried, inspect the RV again to ensure that all areas are properly sealed. Touch up any areas that might need additional caulk.
- Routine Maintenance: Make RV caulking part of your routine maintenance. Check and reseal as needed to keep your RV in top condition.
Remember to use a caulk that is specifically designed for RVs and is compatible with the materials used in your RV construction. Always follow safety precautions and manufacturer’s guidelines when using caulking products.
DIY Products
- Dripless Caulking Gun
- Geocel Pro Flex RV Flexible Sealant – White, Clear or Black
- CRL Chisel Tip Scraper Tool – Pack of 5
- Acrysol Body Solvent Cleaner
- Dicor Lap Sealant – White, Black, Ivory, Tan, Gray
- Pan Head Metal RV Screws – Black or White
More from Dustin
Make sure you check out our website, California RV Specialists, and their YouTube channel for more helpful information.


