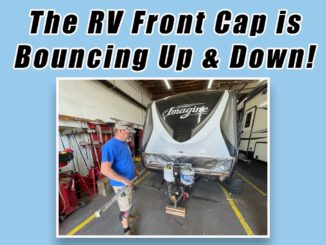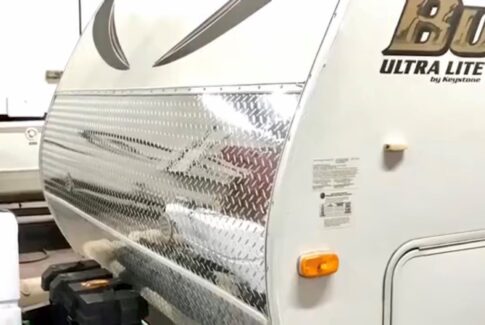
Join me in this video and you will see mistakes that the manufacturer made during the building assembly of the unit. We will show you additional steps to prevent RV front cap and side wall damage.
Advertisement/Affiliate
Some of my findings Include:
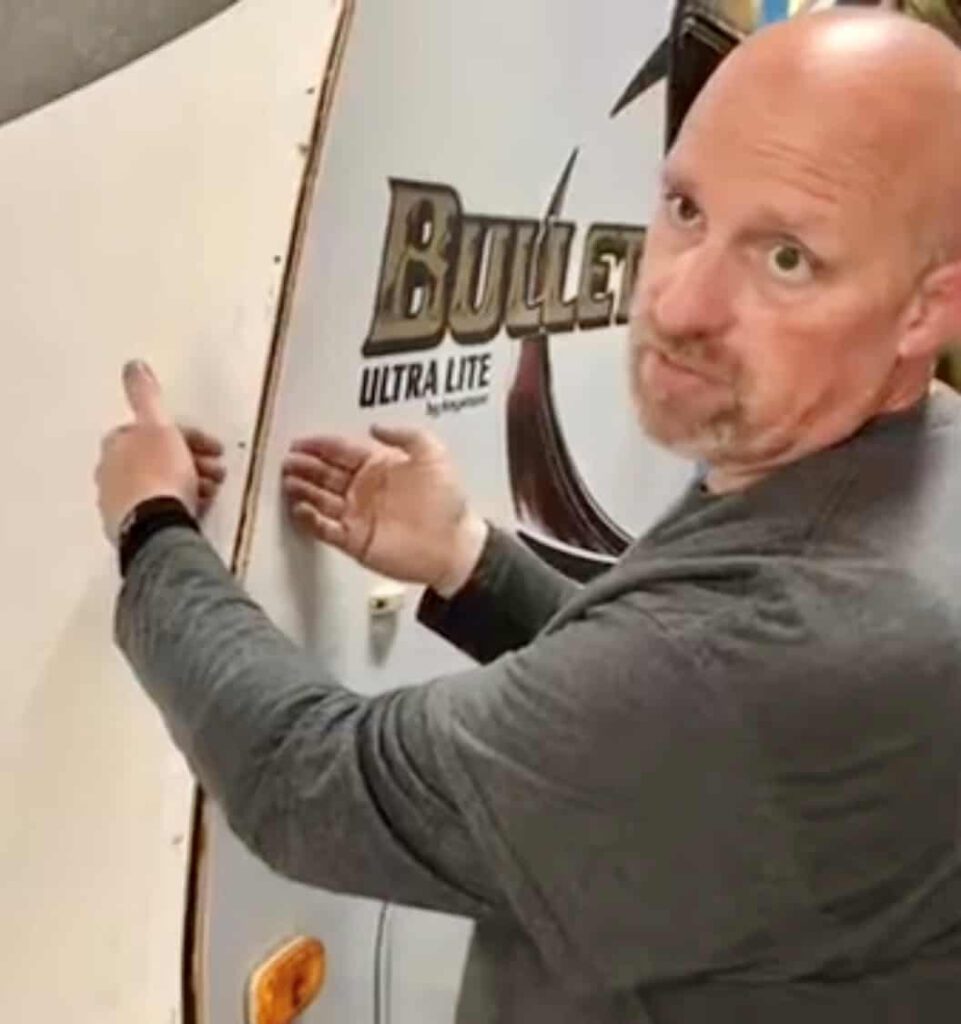
Beltline molding was cut short during production and was missing screws on both sides.
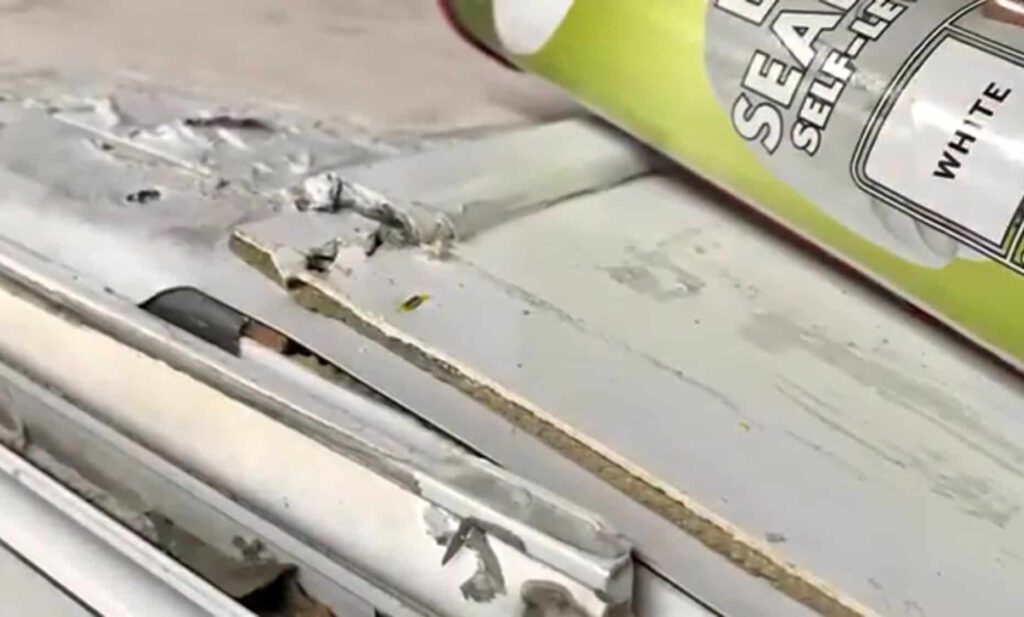
The roof membrane material was cut short during production and exposed TPO roof sheeting.
Advertisement/Affiliate
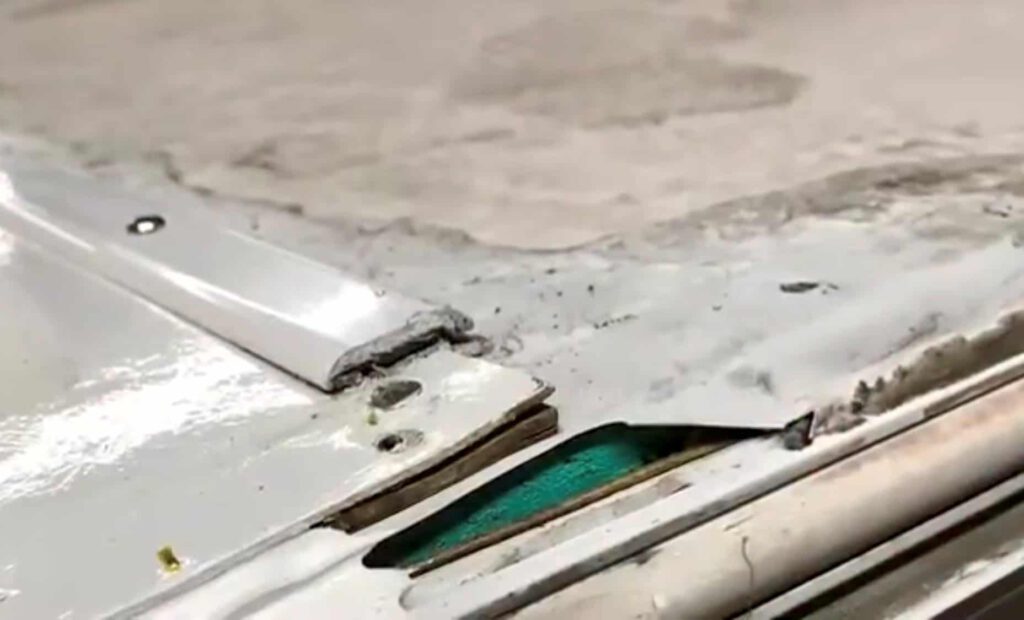
No sealants were applied between the RV front cap and wall joints surface, which allowed water to penetrate, casing damage to the lower front cap wall.
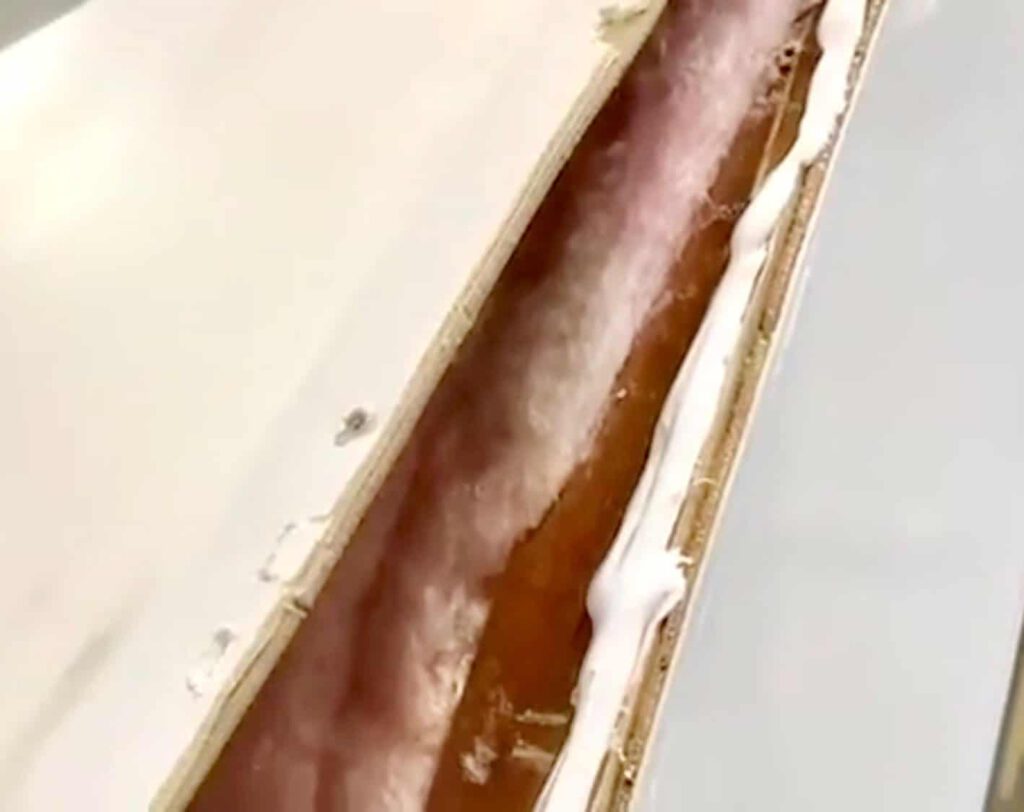
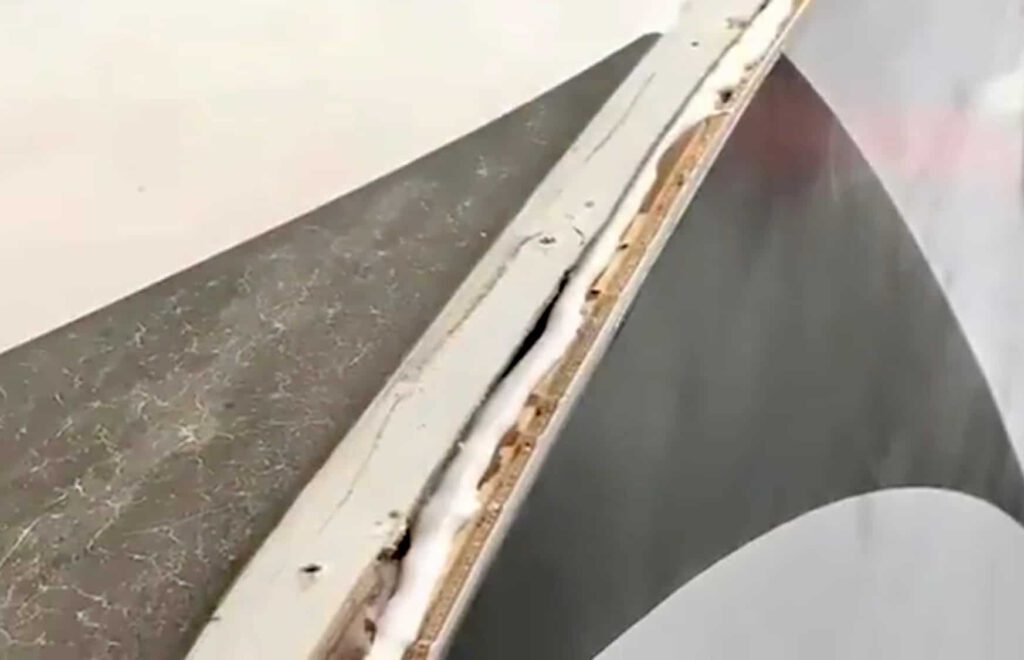
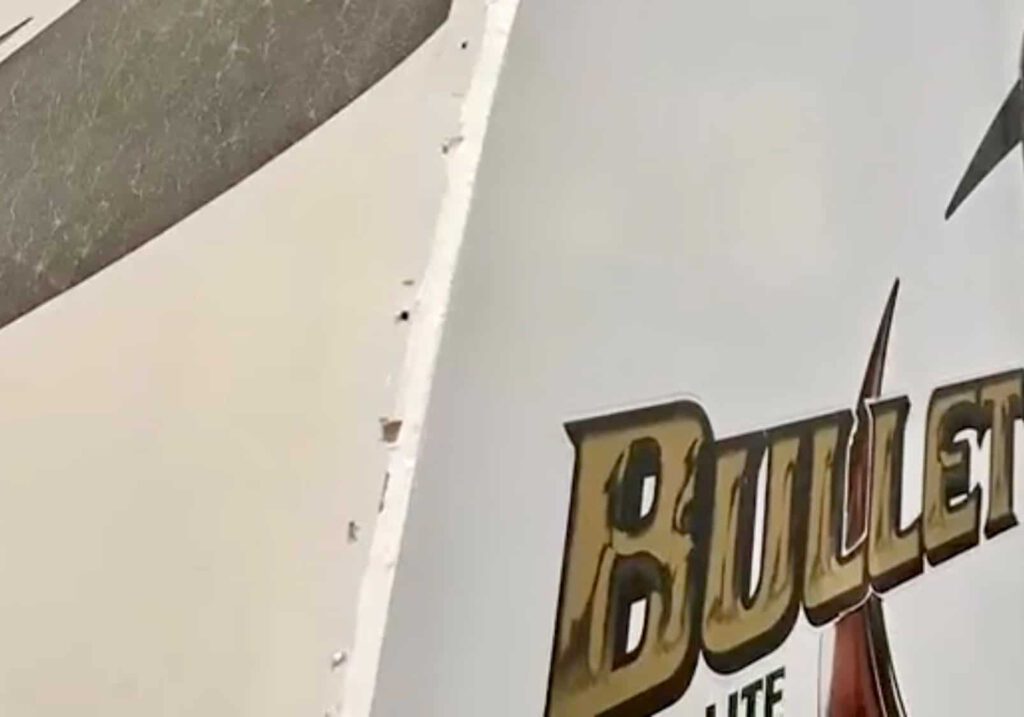
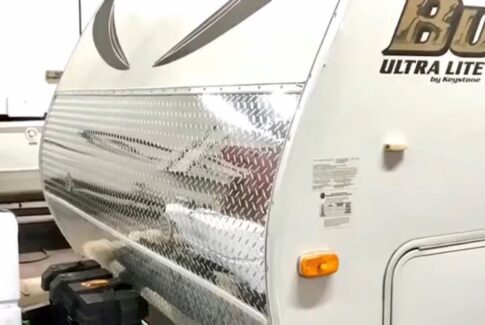
I had given the owner different options for repairs at the time of this video: full RV front cap replacement or adding additional diamond sheeting to help save existing material.
Advertisement/Affiliate
DIY product links for RV slide-out maintenance:
- Acrysol Body Solvent Cleaner
- Scraper tool blue CRL stick
- Tapered Tip Stick and Handle
- The best caulking gun
- Dicor lap sealant white
- Boss sealant 378 clear
- Boss sealant 378 black
- Geocel GC28100 Pro Flex RV Flexible Sealant Clear
- Geocel 28101V Pro Flex White RV Flexible Sealant
More about groups
These Facebook groups were created to help educate owners about parts, problems, repairs, fixes, and upgrades on RV units. We will be sharing videos that include WHAT’S IN THE SHOP? and SHOP TALK episodes with information on accessories and products that we use and install on the units from the shop.
Make sure you check out our website, California RV Specialists, and their YouTube channel for more helpful information, and see our published articles on RVtravel.com and other social media pages.

