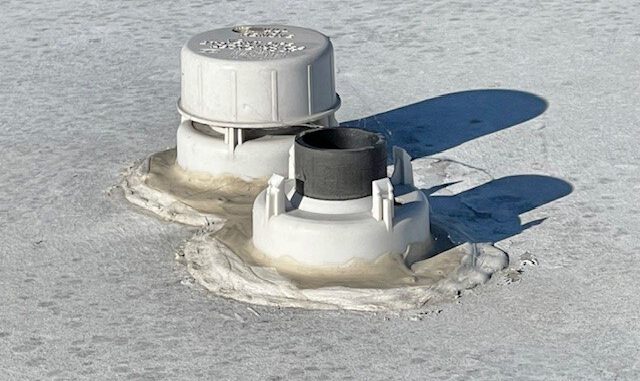
Replacing an RV roof plumbing vent involves a series of careful steps to ensure the job is done correctly without leaking or causing damage to the RV roof. Here’s a detailed guide on how to remove and replace an RV roof plumbing vent:
Tools and Materials Needed:
– Utility knife or putty knife
– Caulking gun and RV-compatible sealant
– Ladder or another safe method to access your RV roof
– Gloves (optional for protection)
– Safety glasses (optional for protection)
Steps to Remove the Old Plumbing Vent:
1. Safety First:
– Ensure the RV is parked on a level surface.
– Secure the RV by setting the park brake and using wheel chocks if necessary.
– Use a ladder to safely access the roof, making sure the ladder is stable and secure.
2. Prepare the Area:
– Clean the area around the old vent to remove any loose debris or dirt.
– Assess the condition of the old sealant to determine how to best remove it.
3. Remove Old Sealant:
– Use a utility knife or putty knife to carefully cut through the old sealant surrounding the vent.
– Be cautious to avoid damaging the roof membrane underneath the sealant.
– Remove as much of the old sealant as possible to expose the fasteners and vent base.
4. Unscrew and Remove the Vent:
– Use a screwdriver or drill to remove the fasteners (screws) holding the old vent in place.
– Carefully lift the old vent off the roof. If there is any remaining resistance, check for additional sealant or screws that may still be holding it in place.
5. Clean the Area:
– Thoroughly clean the area where the old vent was located using a roof-safe cleaner and rags or paper towels.
– Ensure that the surface is clean and dry before installing the new vent.
Steps to Install the New Plumbing Vent:
Prep the New Vent:
– Verify that the new vent fits properly in the existing opening, adjusting as necessary.
– Ensure the vent’s flange (if it has one) lays flat against the roof surface.
2. Apply Sealant:
– Apply a generous bead of RV-compatible sealant around the base of the new vent to create a watertight seal between the vent and the roof.
3. Install the New Vent:
– Carefully place the new vent into the prepared opening, making sure it sits flush against the roof.
– If the vent includes a gasket or seal, verify that it is in the correct position.
4. Secure the Vent:
– Use the provided screws or the screws from the old vent if they are still in good condition, to secure the new vent in place.
– Tighten the screws securely but be cautious not to over-tighten, which could damage the vent or the roof material.
5. Seal the Edges:
– Apply additional sealant around the edges of the vent, ensuring that you cover all screw heads and there are no gaps.
– Smooth out the sealant with a putty knife or your finger to ensure a watertight seal.
6. Final Inspection:
– Inspect the installation to ensure all areas are properly sealed and secured.
– Clean up any excess sealant with rags or paper towels.
7. Cure Time:
– Allow the sealant to cure as per the manufacturer’s instructions before exposing the vent to any rain or washing.
Post-Installation Tips:
– **Regular Maintenance**: Periodically inspect the new vent and sealant to ensure they remain intact and effective.
– **Weather Consideration**: Ideally, perform this task on a dry day to ensure that the roof and sealant stay dry during the process.
By following these steps, you can effectively remove and replace an RV roof plumbing vent, ensuring a watertight and durable installation.

More from Dustin
Make sure you check out my website, California RV Specialists, and our YouTube channel for more helpful information, and see our published articles on RVtravel.com and other social media pages.
