There could be several reasons why someone might shoot an RV with a bullet, though I must emphasize that such actions are illegal, dangerous, and morally wrong. Shooting at an RV or any other property is considered vandalism and a criminal offense. It puts people’s lives at risk and causes significant damage and emotional distress to the RV owners.
Despite all that, it happens, and we do see bullet-damaged RVs in our shop.
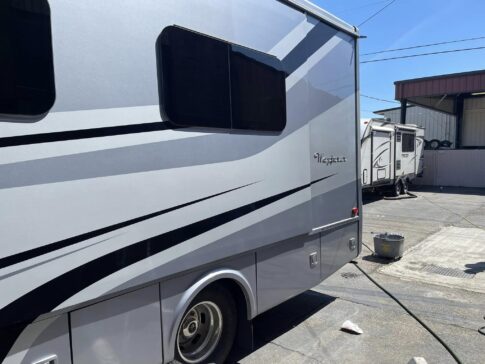
Here is a recent job in the RV shop where we are repairing bullet damage on an RV, specifically a Class C RV, which can be a challenging task. It’s important to prioritize safety and thoroughness in the process. Depending on the extent of the damage, you might need professional help.
There’s a good chance you’ll never need to know how to repair bullet damage to your RV, but we thought you might want a look behind-the-scenes anyway.
Here are some general steps to guide you through the repair process:
Assess the damage: Begin by thoroughly examining the bullet damage. Determine the size and depth of the holes or cracks. If the damage is extensive or structural, it’s best to consult a professional RV repair service.
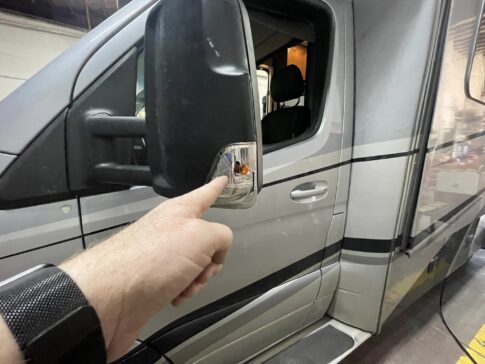
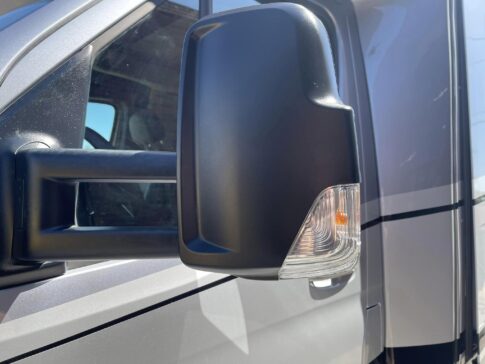
Secure the area: If the damage has caused any leaks or compromised the interior, make sure to protect the area from further damage. Use tarps or other waterproof covers to prevent rainwater from entering the RV.
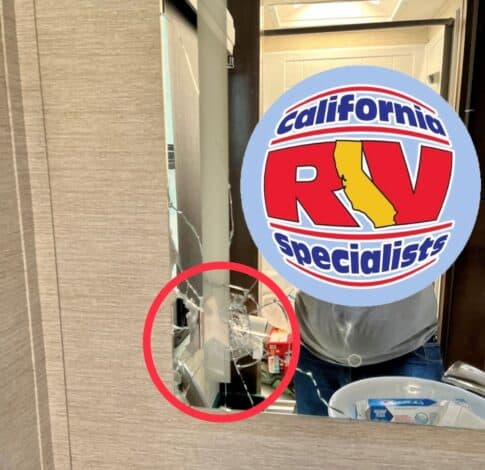
Remove damaged material: If possible, carefully remove any damaged material around the bullet holes. This may include interior wall panels or exterior cladding. Be cautious not to cause further damage while doing this.
Clean the area: Ensure the area around the damage is clean and free from any debris or loose fragments. Use a mild detergent and water to clean the surfaces gently.
Fill the holes: For smaller bullet holes, you can use a fiberglass repair kit or a filler designed for RVs. Follow the instructions on the product carefully. For larger holes or extensive damage, professional help is recommended.
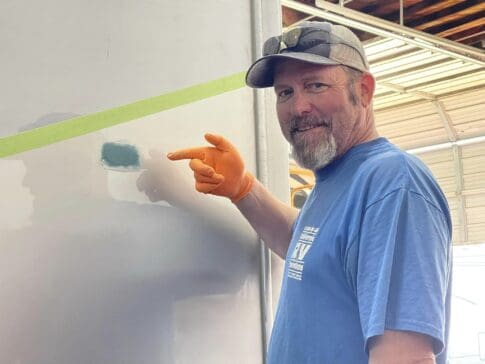
Sand and smooth the surface: Once the filler has dried, sand down the repaired area until it is smooth and level with the surrounding surface. This will help ensure a more seamless appearance when repainting or resealing.
Reapply exterior sealant: If the damage was on the exterior of the RV, ensure that you reapply an appropriate sealant to prevent water infiltration and further damage.
Repaint or reapply exterior finish: If necessary, repaint the repaired area to match the rest of the RV’s exterior. This can be challenging to achieve a perfect match, so it’s advisable to consult with a professional if you’re unsure.
Replace interior panels: If the bullet damage has affected interior panels, replace them with matching materials. Pay attention to any electrical or plumbing components that might need to be addressed during the replacement.
Test for safety: Before using the RV again, ensure that all repairs have been done properly and that there are no safety hazards.
Again, I cannot stress enough that if the damage is extensive or involves structural components, it’s best to consult a professional RV repair service. This unit was shot a number of times and everything was luckily repaired by California RV Specialists.
If you or anyone you know witnesses or experiences vandalism or any criminal activity, it should be reported to law enforcement immediately.
From little bumps and scrapes to minor accidents, our team repairs all types of RV damage. Please see our website link for more information on RV Paint and Collision Repairs.
Make sure you check out our website, California RV Specialists, and their YouTube channel for more helpful information, and see our published articles on RVtravel.com and other social media pages.
