Resealing your RV with silicone is an important maintenance task to prevent leaks and water damage.
Here’s a step-by-step guide to help you do it like a pro:

Materials Needed:
- Silicone sealant
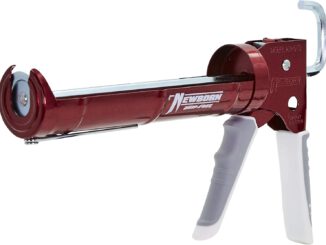
- Caulking gun
- Painter’s tape
- Silicone scraper
- Body solvent cleaner
- Clean rags
- Gloves
- Ladder telescoping
Steps:
- Choose the Right Sealant:
- Use a high-quality silicone sealant specifically designed for RVs. Avoid household silicone as it may not withstand outdoor conditions.
- Prepare the Area:
- Clean the surface thoroughly. Remove any old sealant with a utility knife or scraper.
- Clean the area with acrysol body solvent cleaner to remove any dirt, oil, or residue. Let it dry completely.
- Tape the Area:
- Use painter’s tape to mask off the area around where you will be applying the silicone. This ensures clean, straight lines and prevents excess sealant from spreading.
- Apply the Silicone:
- Cut the tip of the silicone tube at a 45-degree angle. The size of the opening should match the width of the gap you’re sealing.
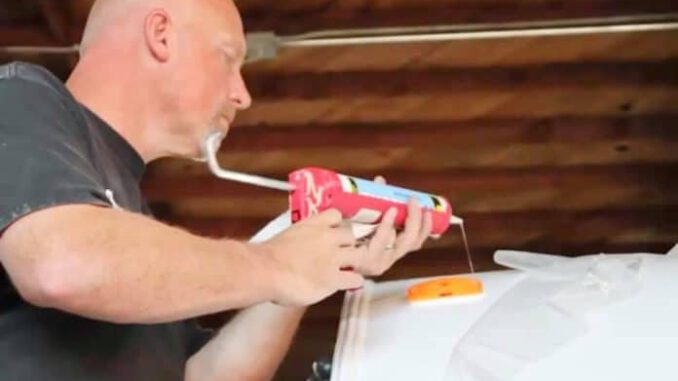
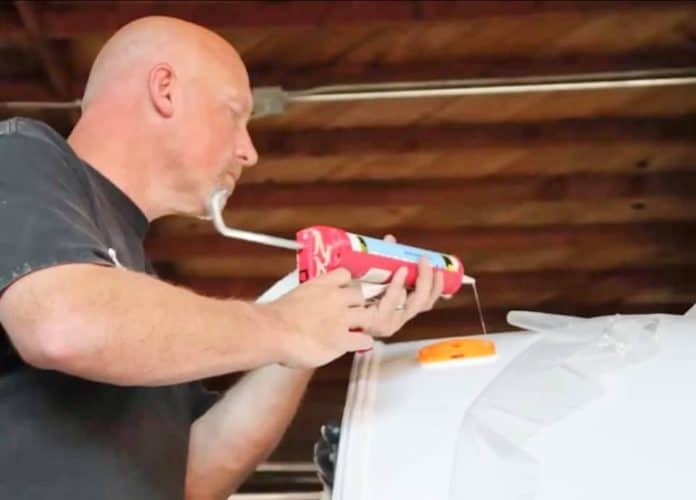
- Load the tube into the caulking gun.
- Starting at one end, apply a steady, even bead of silicone along the seam or joint. Keep the tip of the tube at a consistent angle and speed to ensure an even application.
- Smooth the Bead:
- Use a caulking tool or your finger (wearing gloves) to smooth the bead of silicone. This helps to ensure good adhesion and a professional finish.
- Wetting your finger or the tool with a bit of soapy water can help create a smoother finish.
- Remove the Tape:
- Remove the painter’s tape before the silicone starts to cure. Pull the tape away slowly and carefully at a 45-degree angle to avoid disturbing the fresh sealant.
- Cure Time:
- Allow the silicone to cure according to the manufacturer’s instructions. This can range from a few hours to a full day, depending on the product and environmental conditions.
- Inspect and Touch Up:
- Once the silicone has cured, inspect the seal. If there are any gaps or areas that need touch-up, apply a bit more silicone and smooth it out.
Tips:
- Work in sections: If resealing a large area, work in small sections to ensure the silicone doesn’t start to cure before you smooth it out.
- Temperature and humidity: Check the weather before starting. Silicone adheres best and cures properly in moderate temperatures and low humidity.
- Ventilation: Ensure good ventilation if working indoors to avoid inhaling fumes from the silicone sealant.
By following these steps, you can reseal your RV with silicone like a pro, ensuring a watertight and durable finish.
More from Dustin
Make sure you check out my website, California RV Specialists, and our YouTube channel for more helpful information, and other social media pages.


