Inspecting the roof of your RV is crucial for maintenance and preventing potential issues. Here are some key things to look for when inspecting an RV roof:
- Leaks and Water Damage:
- Check for any signs of water stains or discoloration on the ceiling or walls inside the RV.
- Look for soft spots or sagging areas on the roof, as these can indicate water damage.
- Inspect seams, joints, and edges for signs of leaking, such as cracked or dried sealant.
- Seals and Caulking:
- Examine the condition of seals and caulking around vents, skylights, antennas, and other openings. Replace any cracked or damaged sealant.
- Inspect the roof seams and edges for any gaps or areas where the sealant may have deteriorated.
- Roof Material:
- Different RVs have different roof materials (rubber, fiberglass, aluminum, etc.). Inspect the material for any signs of damage, such as cracks, tears, or punctures.
- Check for peeling or bubbling on rubber roofs, which may indicate deterioration.
- Ventilation Components:
- Ensure that vent covers and fans are in good condition and properly sealed. Check for cracks or damage.
- Clean debris from vents to ensure proper airflow and prevent issues with appliances.
- Satellite and Antenna Mounts:
- Inspect the mounts for satellite dishes and antennas. Make sure they are securely fastened and haven’t caused damage to the roof.
- Tree Sap and Debris:
- Remove any tree sap, leaves, or other debris on the roof, as these can cause damage and contribute to leaks.
- A/C Unit:
- Check the gasket and seals around the air conditioning unit. Make sure they are intact and not allowing water to penetrate.
- Solar Panels:
- If your RV has solar panels, check the mounts, wiring, and seals for any issues.
- Awning:
- Inspect the awning attachment points and ensure there are no signs of wear or damage. Ensure that the awning material is in good condition.
- Regular Cleaning:
- Clean the roof regularly to remove dirt, grime, and other substances that can contribute to deterioration.
- UV Damage:
- UV rays can cause damage to the roof over time. Check for signs of UV damage, such as fading or brittleness in materials.
Performing regular inspections and addressing any issues promptly can help prolong the life of your RV roof and prevent costly repairs. If you’re unsure about any aspect of the inspection, consider contacting us to schedule an appointment.
What to look for when inspecting an RV roof
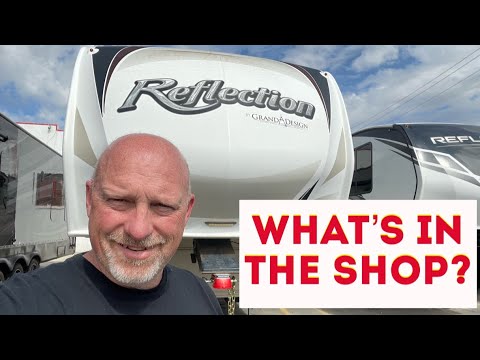
I am often asked, “What should I look for when inspecting my RV roof?” The video below shows just that!
Join me on the roof of this 2016 Grand Design Reflection 337RLS. I show you areas that need to be cleaned and touched up. I also share some tricks of my trade that I’ve learned by inspecting a lot of RV roofs!
DIY Products
- Dripless Caulking Gun
- Geocel Pro Flex RV Flexible Sealant – White, Clear or Black
- CRL Chisel Tip Scraper Tool – Pack of 5
- Acrysol Body Solvent Cleaner
- Dicor Lap Sealant – White, Black, Ivory, Tan, Gray
- Pan Head Metal RV Screws – Black or White
More From Dustin
Make sure you check out our website, California RV Specialists, and their YouTube channel for more helpful information, and other social media pages.

