By Dustin Simpson, California RV Specialists
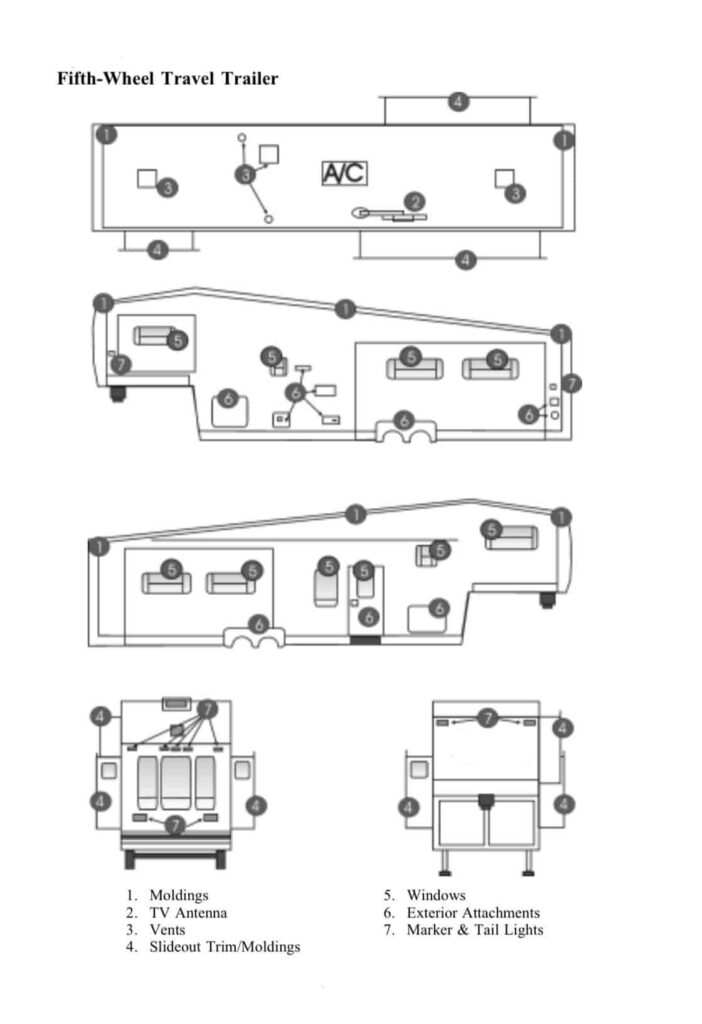
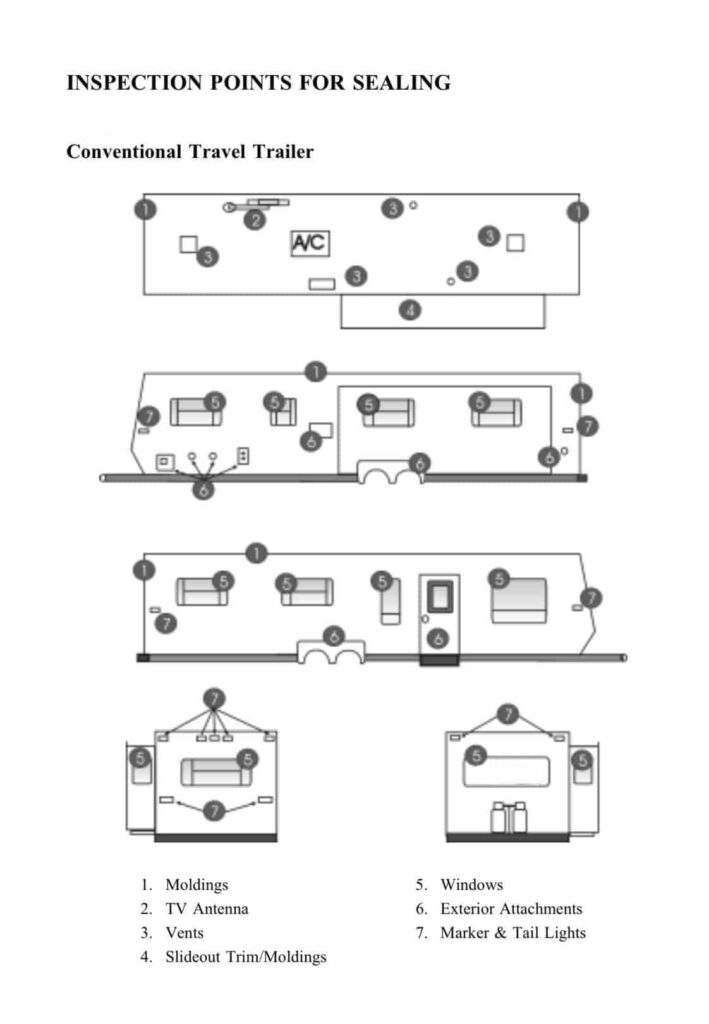
Manufacturers recommend that you check your RV’s roof and body sealants every 90 days.
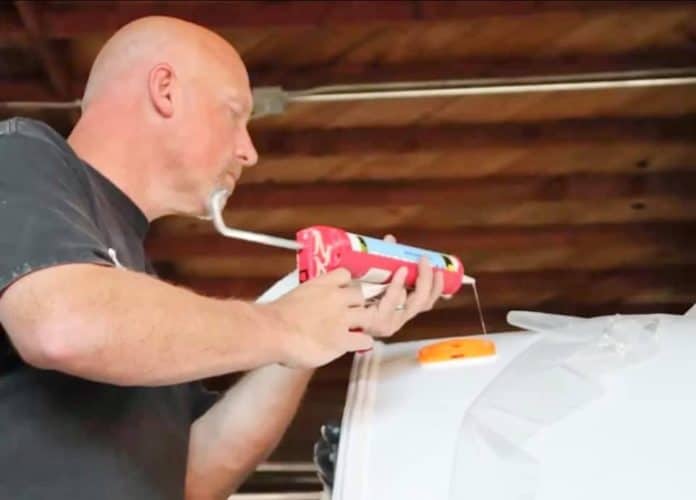
Resealing and caulking your RV helps to protect your investment and creates a watertight seal to protect your unit from outdoor elements.
Applying caulking around trim and windows helps to ensure that no outside elements get inside through the window frame or other gaps.
Advertisement/Affiliate
When there is no caulk to prevent blockage, dirt and dust enter the RV more freely. If moisture from condensation, rain or snow, or by washing your unit gets into the RV, it can damage the structure or cause dangerous mold and mildew. Water and mildew stains can appear on the carpet and on the walls. However, in most cases, it doesn’t show up right away, causing unnoticed dry rot to occur.
Caulking around certain joints creates a watertight seal that prevents water from the outside from seeping into the cracks and crevices of your RV. If water gets in, it can cause a lot of damage that can be extremely costly to repair and even total your unit.
Applying caulking can also help prevent hot or cold air from moving outside. If you don’t caulk the borders around doors, windows, and walls, cool or hot air will escape. As a result, your RV’s heating and cooling usage will increase to make up for the loss, causing energy costs to go up if you’re living in the unit full time.


At California RV Specialists, we offer a free exterior evaluation and inspection of the body and roof sealants. Get your unit inspected even if you’re not in our area. Ask your local shops if they do free inspections.
Tools you’ll need to reseal your RV
Chemicals
- Denatured alcohol – (Some states and towns do not sell this anymore at local hardware stores)
- Acrysol – Available in a spray can – (see online store)
*Use paper towels or old rags when cleaning.
Tools
- Plastic scraper with handle
- Window glazing stick
- No-drip caulking gun Newborn 930-GTD Drip-Free
- Plastic razor blades
Sealant
- Dicor cap sealant white
- Dicor cap sealant clear
- Dicor cap sealant black
- Boss sealant clear
- Boss sealant black
- Geocel sealants clear
…or any RV sealants/RV silicone. Do NOT use Home Depot or Lowe’s silicone. There are hundreds of types of silicone. Make sure you use the right ones. When manufacturers say don’t use silicone, it’s because most people think of standard silicone or water-based silicone. You MUST use silicone and sealants made for RVs.
Hardware
- Pan White Head Screw # 8 X 1″ Quad Drive Self Tap Drill Screws
- Black Pan Head Square Recess Screw – Pack of 500
- Heavy Duty Vinyl Insert Trim, 1 inch Wide, 100 foot Roll, Black
- Heavy Duty Vinyl Insert Trim, 1 inch Wide, 100 foot Roll, White
- Heavy Duty Vinyl Insert Trim, 1 inch Wide, 100 foot Roll, Colonial
- Thetford RV gutter spouts polar white
- RV Rain Gutter Spout Long Version
- Aluminum White Flat End Cap for Trim Molding 1″ & Screws
Most manufacturers don’t seal everything, probably because it’s such a long process—especially when they advise you, as the owner, to check and seal as needed as part of maintenance.
Some manufacturers recommend every 30 days, others every 90 days. That number depends on use and weather conditions.
I really hope this information helps protect your investment.
More from Dustin
Read more of Dustin’s articles here.
Dustin owns and operates California RV Specialists, an independent RV repair shop located in Lodi, CA. He thrives on sharing his knowledge and enthusiasm of RV repair and maintenance with his team, customers, and virtual friends.
Be sure to check out his YouTube channel where he shares what’s going on in the shop and the product offerings in the store. Dustin is also very active on Facebook. Join his group, RV Repairs and Tips – What’s in the shop!
Dustin proudly operates the business alongside his wife, Ashley; but the true pair that run the show are their Boston Terriers, Arvie and Hitch.

