
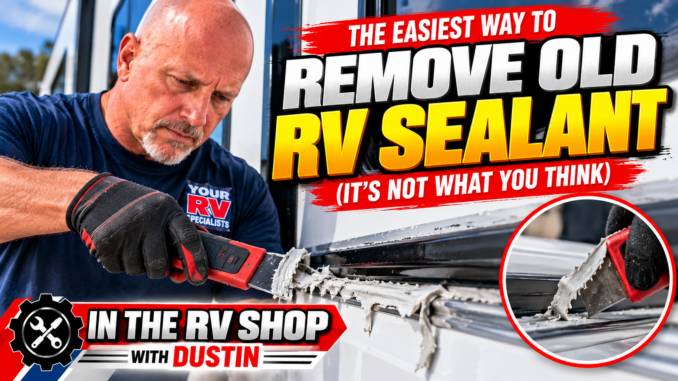
Professional RV Silicone Removal, Scraping Techniques & Surface Preparation Tips
Removing old RV sealant can be one of the most time-consuming parts of exterior maintenance. Whether you’re preparing to reseal your RV’s windows, exterior moldings, body seams, or roof components, properly removing deteriorated silicone and caulking is an important part of the repair process.
But what if there were a way to make the job easier?
At California RV Specialists in Lodi, California, we’ve spent more than two decades working on RV exterior repairs, maintenance, and resealing.
In this video, Dustin and Chris discuss the tools and techniques we use to remove old RV body sealants efficiently while minimizing the risk of damage to the surrounding surfaces.
The secret isn’t necessarily using more chemicals. It’s knowing how to remove the bulk of the material mechanically, selecting the right scraper, and using compatible cleaning products only when necessary.
Watch: The Easiest Way to Remove Old RV Sealant
The Easiest Way to Remove Old RV Sealant (It’s Not What You Think)
Join Dustin and Chris as they explain how to remove old silicone and exterior RV sealants, prepare surfaces for resealing, and reduce unnecessary cleaning time.
These techniques can be useful for travel trailers, fifth wheels, motorhomes, toy haulers, and other RVs.
Why Removing Old RV Sealant Is Important
Over time, exterior RV sealants can deteriorate from exposure to sunlight, moisture, temperature changes, and normal movement during travel.
Common problems include:
- Cracked or separated sealant
- Loose or peeling silicone
- Dirt and contamination embedded in old caulking
- Failed adhesion around exterior moldings
- Gaps around windows and exterior accessories
- Deteriorated sealant at body joints and seams
- Areas where water may enter the RV
Simply applying new sealant over deteriorated material is not always the best solution.
When existing sealant is loose, contaminated, or incompatible with the replacement product, the affected material may need to be removed before resealing.
Proper surface preparation helps support better adhesion and a more reliable finished repair.
The Secret: Remove the Bulk of the Sealant Before Using Solvents
One of the most useful techniques we demonstrate is removing as much of the old silicone or caulking as practical before applying a cleaning solvent.
Instead of immediately soaking the area with chemicals, we use an appropriate scraper to carefully work away the heavy buildup.
This approach can help:
- Reduce the amount of solvent needed
- Minimize unnecessary chemical exposure
- Improve control around sensitive RV surfaces
- Reduce time spent cleaning heavy sealant buildup
- Make the remaining residue easier to identify
- Prepare the surface for additional cleaning and inspection
The right technique is just as important as the tool itself.
Choosing the Right Scraper for RV Sealant Removal
Not all scraping tools are suitable for RV exterior surfaces.
Many RVs have painted fiberglass, gelcoat, aluminum siding, decals, plastic trim, and roof membranes that can be scratched or damaged by aggressive tools.
At California RV Specialists, we regularly use specialty scrapers for removing sealants, adhesive residue, tapes, and other materials during exterior repairs.
When selecting a scraper, consider:
- The surface material
- The type and thickness of sealant
- The scraper’s blade material and edge condition
- The angle and pressure required
- Whether the surface is painted, coated, or covered with a membrane
A plastic or other nonmetallic scraper may reduce scratching risks on certain surfaces, but it can still damage finishes if used incorrectly.
Always test the technique in a small, inconspicuous area before proceeding.
Avoid using excessive force, sharp metal edges, or aggressive scraping methods on sensitive RV surfaces.
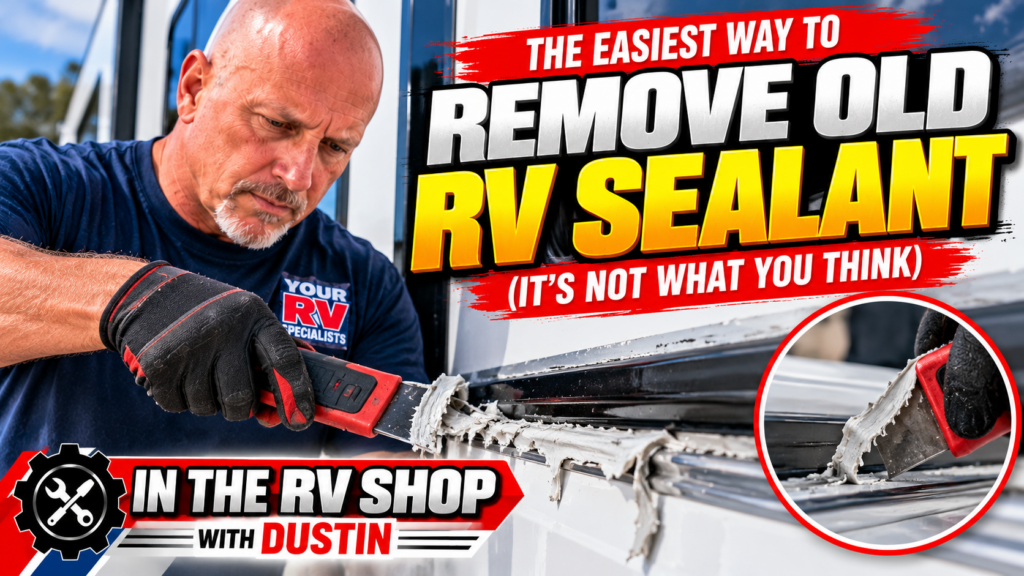
How We Remove Old RV Silicone and Caulking
The following is a general overview of the approach discussed in our video.
Step 1: Inspect the Existing Sealant
Before removing anything, inspect the seam, molding, window, or accessory.
Determine whether the sealant is deteriorated, whether the underlying component is secure, and whether there are signs of water intrusion.
If the molding is loose, the fasteners are damaged, or the underlying material has deteriorated, those problems should be addressed as part of the repair.
Step 2: Carefully Remove Heavy Sealant Buildup
Using an appropriate scraper, begin removing loose or deteriorated material.
Work carefully along the edge of the sealant without digging into the RV’s painted surface, fiberglass, aluminum, or roof membrane.
Avoid forcing the scraper underneath roof membranes, trim, or other bonded components.
The objective is to remove unwanted material while preserving the surrounding surfaces.
Step 3: Remove Remaining Silicone and Adhesive Residue
After the bulk of the material has been removed, small amounts of residue may remain.
A compatible cleaning product may help remove certain residues, but no solvent is universally safe for all RV finishes or effective on every type of cured sealant.
Some cured silicone residues require additional mechanical removal or a specialized product approved for the substrate.
Always verify chemical compatibility with the surface, existing coatings, and replacement sealant.
Step 4: Clean and Prepare the Surface
Before applying replacement sealant, inspect the area for remaining contamination, moisture, loose material, or damaged components.
Follow the sealant manufacturer’s surface preparation instructions, including any requirements for final cleaning and drying.
Do not apply new sealant over solvent residue or a wet surface unless the specific product instructions permit it.
Step 5: Apply the Correct Replacement Sealant
Different RV exterior applications may require different sealant formulations.
Roof seams, vertical body joints, windows, moldings, and accessories do not necessarily use the same products.
For example, Dicor Non-Sag Lap Sealant is intended for certain vertical and non-horizontal applications where the product is compatible with the roof system and substrate.
Confirm the correct sealant before starting the repair.
Can You Use the Same Technique to Remove RV Decal Glue?
Yes. Some of the same careful scraping and cleaning principles can be useful when removing adhesive residue from old RV decals.
At California RV Specialists, we’ve used specialty scraping tools for many applications, including:
- Removing deteriorated exterior sealants
- Removing silicone and caulking residue
- Cleaning molding edges before resealing
- Removing certain adhesive tapes
- Removing leftover decal adhesive
- Preparing selected surfaces for new sealant
- Cleaning residue during roof and body repairs
However, decal adhesive removal and silicone removal are not identical processes.
Solvents that work on adhesive residue may not remove cured silicone, and some chemicals can damage RV decals, paint, plastics, or protective coatings.
Always test products and verify compatibility before using them.
Important Precautions When Removing RV Sealants
RV exterior materials can be damaged by the wrong tools, cleaning products, or application techniques.
Before beginning a sealant removal project:
- Verify whether the surface is fiberglass, painted aluminum, TPO, EPDM, plastic, or another material.
- Follow the manufacturer’s recommendations for cleaning and resealing.
- Avoid aggressive metal scrapers on sensitive surfaces.
- Never assume a solvent is safe for all RV finishes.
- Use appropriate gloves, eye protection, and ventilation.
- Keep flammable solvents away from ignition sources.
- Do not mix cleaning chemicals.
- Avoid damaging existing roof membranes or waterproofing systems.
- Allow surfaces to dry and prepare them according to the new sealant’s instructions.
Important: Removing old sealant is only one part of a proper RV resealing service. Existing leaks, loose components, damaged moldings, and water-damaged materials must also be evaluated.
RV Removal Tools & Products
Below are examples of the tools and products discussed in our RV maintenance videos.
Our Favorite Dripless Caulking Gun
https://amzn.to/4aQu6Ot
Our Favorite Scraper
https://amzn.to/3VRQqTE
Our Favorite Solvent Cleaner
https://amzn.to/3vLtE52
Additional Solvent Cleaner
https://amzn.to/434ML8b
Product availability, colors, specifications, and compatibility should be verified before purchasing.
Affiliate Disclosure: Some of the links above are affiliate links. California RV Specialists may earn a commission from qualifying purchases at no additional cost to you.
Frequently Asked Questions About Removing Old RV Sealant
What is the easiest way to remove old silicone from an RV?
For many applications, carefully removing the bulk of the material with an appropriate scraper before using a compatible cleaner can reduce the amount of residue and unnecessary solvent use.
The correct method depends on the sealant and surface material.
Can you remove cured silicone with a solvent?
Some specialized products can help soften or break down certain silicone residues, but fully cured silicone may still require mechanical removal. Always verify compatibility with the RV’s finish.
Will a plastic scraper scratch an RV?
It can. Although some plastic scrapers are less aggressive than metal tools, excessive pressure, trapped grit, or a damaged scraping edge can still scratch sensitive surfaces.
Should all old sealant be removed before resealing?
Not always. The amount of removal depends on the condition and compatibility of the existing material and the replacement sealant manufacturer’s requirements.
Loose, deteriorated, contaminated, or incompatible material may need to be removed.
Can I use the same scraper on my RV roof?
Only if the tool and technique are appropriate for the roof membrane. TPO, EPDM, fiberglass, aluminum, and coated roofs can have different requirements.
Can I use household adhesive remover on my RV?
Not without checking compatibility. Some household cleaners and solvents can damage paint, plastics, decals, roof membranes, and other RV materials.
Is removing old silicone necessary before applying new silicone?
It depends on the condition and compatibility of the materials. New silicone generally does not bond reliably to every contaminated or deteriorated silicone surface. Follow the sealant manufacturer’s instructions.
Can I remove decal glue with the same products?
Some adhesive residues can be removed with compatible cleaners and scraping tools, but results vary by adhesive and surface. Test before proceeding.
Can removing old sealant fix an RV water leak?
Removing failed sealant and correctly resealing the affected joint may address certain leaks. However, leaks can also result from damaged components, loose fasteners, roof membrane failures, or other problems that require additional repairs.
What is the difference between RV roof sealant and exterior body sealant?
Roof and body sealants may have different formulations, application requirements, and compatibility limitations. Self-leveling roof sealants, non-sag lap sealants, and exterior body sealants should not be treated as interchangeable.
How often should I inspect my RV exterior sealants?
Follow the RV manufacturer’s maintenance schedule and inspect after severe weather, unusual travel conditions, or whenever signs of deterioration or water intrusion appear.
Does California RV Specialists offer exterior RV resealing?
Yes. We provide RV roof inspections, roof resealing, exterior body resealing, leak diagnosis, and related repair services at our facility in Lodi, California.
Professional RV Exterior Body Resealing & Roof Repairs
At California RV Specialists, we provide professional exterior maintenance and repair services for fifth wheels, travel trailers, toy haulers, motorhomes, truck campers, and other RVs.
Our services include:
- RV exterior body resealing
- RV roof inspections and resealing
- Removal and replacement of deteriorated sealants
- Window and exterior molding resealing
- RV roof coatings and replacements
- Water leak diagnosis
- Water damage repairs
- Exterior maintenance and preventative inspections
Proper sealant removal and surface preparation are important parts of helping maintain your RV’s exterior weather protection.
Schedule Your RV Exterior Resealing Service
California RV Specialists, LLC
200 S. Cherokee Lane
Lodi, CA 95240
Phone: (209) 263-7040
Email: service@calrvspecialists.com
Website: https://www.calrvspecialists.com
We repair the RV you own — we don’t sell you a new one.
Learn More with In the RV Shop with Dustin
Want more professional RV repair and maintenance advice?
Subscribe to Your RV Specialists – In the RV Shop with Dustin for actual repair demonstrations, technician tips, product discussions, and preventative maintenance information.
YouTube: https://www.youtube.com/@yourrvspecialists
Join our RV Repair Shop Tips & Advice Facebook Group:
https://www.facebook.com/groups/rvrepairshoptipsandadvice
Helping RV Owners Since 2003 — California RV Specialists, Lodi, California.
