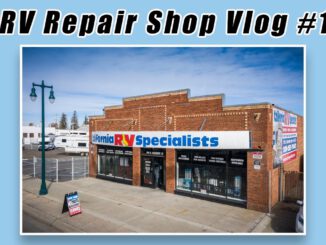
Professional RV Roof Resealing Tips from California RV Specialists
One of the most important maintenance responsibilities for any RV owner is keeping the roof seams, moldings, and penetrations properly sealed.
Over time, RV roof sealants can deteriorate, crack, separate, or lose adhesion. When these areas are neglected, water can enter the RV and potentially damage the roof decking, sidewalls, insulation, and interior components.
But are you applying RV roof sealant correctly?
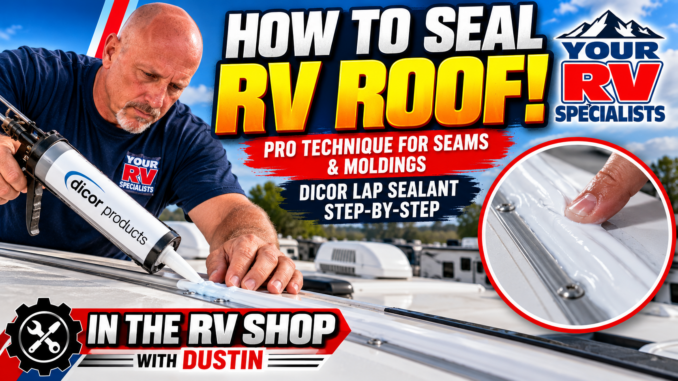
At California RV Specialists in Lodi, California, we regularly inspect, repair, and reseal RV roofs. In this video, our technician Dave demonstrates professional techniques for applying Dicor Self-Leveling Lap Sealant to RV roof seams and double moldings.
Dustin also explains what RV owners should understand about sealant preparation, application, bubbles, curing, and follow-up inspections.
Watch: How to Seal RV Roof Seams with Dicor Lap Sealant
How to Seal RV Roof! RV Technician Explains How to Seal Seams & Moldings with Dicor Roof Sealant
In this video, Dave demonstrates how we apply roof sealant in our professional RV repair facility, including techniques for filling seams, working around moldings, and managing the sealant during application.
Whether you own a fifth wheel, travel trailer, toy hauler, or motorhome, understanding proper roof maintenance can help protect your investment.
Why Proper RV Roof Resealing Matters
RV roofs experience constant exposure to changing temperatures, sunlight, rain, wind, and movement during travel.
These conditions can affect the sealant around:
- Front and rear roof termination moldings
- Roof-to-sidewall transitions
- Roof vents and plumbing penetrations
- Skylights and roof accessories
- Air conditioner mounting areas
- Antennas and other roof-mounted equipment
- Exposed fasteners and molding joints
Even a relatively small opening can allow moisture to enter an RV.
Important: Applying new sealant over a damaged area without properly inspecting and preparing the surface may conceal an existing problem rather than correct it.
Step 1: Inspect the Existing RV Roof Sealant
Before applying additional Dicor lap sealant, inspect the existing roof seams and moldings.
Look for cracking, lifting, separation, missing sealant, exposed fasteners, trapped moisture, damaged roof material, and areas where adhesion may have failed.
If the existing sealant is loose, contaminated, or deteriorated, the affected material may need to be removed before resealing.
We also recommend checking the surrounding roof membrane and molding attachment points.
Never assume that adding more sealant will repair damaged roof decking, loose moldings, or existing structural damage.
Step 2: Properly Clean and Prepare the Surface
Surface preparation is one of the most important parts of a successful RV roof resealing job.
Dirt, moisture, oils, loose sealant, and incompatible cleaning products can interfere with adhesion.
Before applying new sealant:
- Inspect the condition of the existing sealant and surrounding roof material.
- Remove loose or failed material as needed.
- Clean the area using products approved for the roof membrane and sealant.
- Allow the surface to dry completely.
- Verify that the new sealant is compatible with the roof material and existing sealant.
Different RV roofs may use TPO, EPDM, fiberglass, aluminum, or other materials. Always follow the roof and sealant manufacturers’ recommendations.
Step 3: Applying Dicor Self-Leveling Lap Sealant
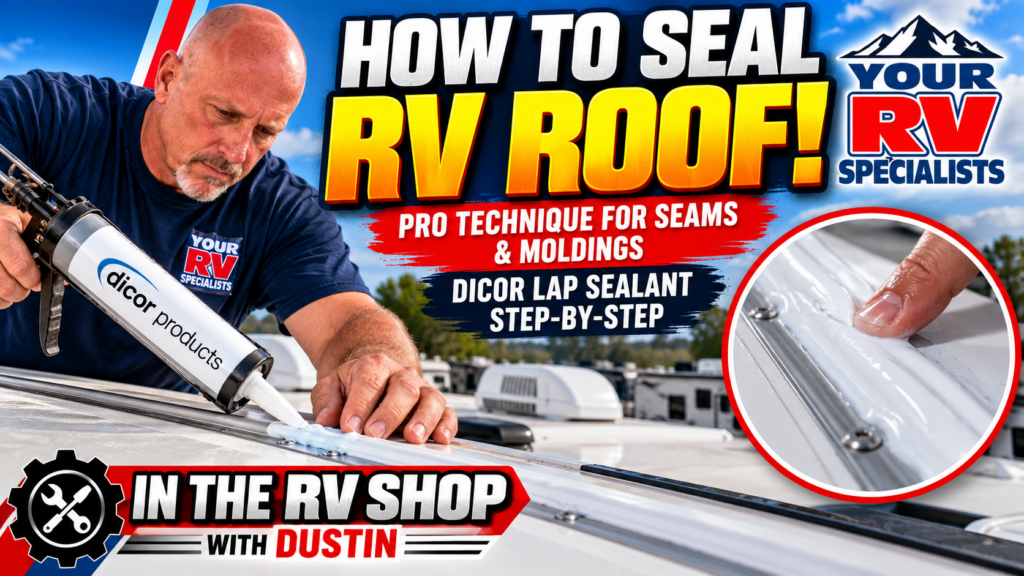
In our video, Dave demonstrates how to apply Dicor self-leveling lap sealant across a double roof molding.
Rather than simply laying a bead over the surface, he uses a controlled, welding-style application technique to work the sealant into the seam and provide coverage over the appropriate adjoining surfaces.
This technique helps us control placement and identify areas requiring additional attention.
The goal is to establish a continuous, properly bonded seal over the intended joint.
Why Sealant Coverage Is Important
Roof termination moldings and fastener areas are particularly important because they can provide pathways for water intrusion when the sealing system deteriorates.
During application, we pay attention to the joint between the molding and roof material, exposed fastener areas, existing sealant transitions, and the overall continuity of the seal.
Self-leveling lap sealant is generally intended for suitable horizontal surfaces. Use the appropriate non-sag or other manufacturer-approved product where the application requires it.
Step 4: Understanding Bubbles in RV Roof Sealant
One question we frequently receive is whether bubbles in freshly applied roof sealant indicate a problem.
Some bubbling or surface changes may occur during application or curing, but bubbles should not automatically be considered harmless.
Their significance depends on the cause, size, location, and whether they affect adhesion or leave a void.
In the video, Dave demonstrates how he manages bubbles while working with the sealant.
The important thing is to achieve proper coverage without leaving openings or damaging the surrounding roof material.
If bubbles appear after application, inspect them according to the product manufacturer’s guidance rather than automatically puncturing or disturbing cured sealant.
Step 5: The Wet-Finger Technique for Sealant Application
Dave also shares a technique used during certain sealant applications: carefully manipulating the sealant with a moistened finger to help control the finish and avoid unwanted stringing or a cobweb effect.
This is a demonstration of a technician’s working method, not a universal requirement for applying Dicor.
Important: Follow the sealant manufacturer’s application instructions. Avoid introducing water, contaminants, or unapproved tooling agents that could interfere with adhesion or curing. Wear appropriate protective equipment and never use a technique that conflicts with the product instructions.
How Long Does Dicor Lap Sealant Take to Cure?
RV roof sealant does not necessarily reach its final cured condition immediately after application.
Curing time can vary depending on the specific product, temperature, humidity, application thickness, and environmental conditions.
In our video, we discuss an approximate 30-day curing period for the application being demonstrated.
However, RV owners should always verify the current technical instructions for the specific Dicor product they are using.
Skin formation, initial set, weather exposure, and complete curing are not necessarily the same thing.
Avoid assuming that a sealant is fully cured simply because the surface feels dry.
Why We Recommend a 90-Day Follow-Up Roof Inspection
At California RV Specialists, we recommend a complimentary follow-up inspection approximately 90 days after our roof resealing service.
This allows us to review the condition of the applied sealant and identify areas that may require additional attention.
During a follow-up inspection, we may look for:
- Sealant separation or lifting
- Changes in adhesion
- Cracking or unusual shrinkage
- Areas that may require touch-ups
- Exposed seams or fastener locations
- Other visible roof maintenance concerns
The follow-up inspection is an additional maintenance check, not a guarantee against future leaks or water intrusion.
We also encourage RV owners to inspect their roofs regularly and after severe weather or unusual travel conditions.
RV Roof Sealant Tools & Supplies
The following products are examples of tools and materials discussed or used in our RV roof maintenance videos.
Dripless Caulking Gun
https://amzn.to/46Zcqyf
Dicor Self-Leveling Lap Sealant – White
https://amzn.to/3tu6Vc2
Plastic Scraper
https://amzn.to/46gPNFk
Acrysol Cleaning Product
https://amzn.to/46lRLEy
RV Roof Repair Kit – White TPO Roofs
https://www.amazon.com/shop/californiarvspecialists-dustinsimpson/list/3NQ1VUZL3GLGX?ref_=aip_sf_list_spv_ofs_mixed_d
Before purchasing or applying any product, verify compatibility with your RV’s roof membrane, existing sealants, and manufacturer’s maintenance instructions.
Affiliate Disclosure: Some links may be Amazon affiliate links. We may earn a commission from qualifying purchases at no additional cost to you.
Frequently Asked Questions About RV Roof Resealing
Can I apply new Dicor sealant over old RV roof sealant?
Sometimes, provided the existing material is sound, clean, properly adhered, and compatible with the new product. Loose, contaminated, or failed sealant may require removal. Inspect the area before deciding to overlay it.
Should I remove all the old roof sealant before resealing?
Not necessarily. The appropriate preparation depends on the condition of the existing sealant, the roof material, and the products involved. Removing sound material unnecessarily can increase the risk of damaging the roof membrane.
Can Dicor self-leveling sealant be used on vertical surfaces?
Self-leveling sealant is intended for appropriate horizontal applications. Vertical or steeply sloped joints generally require a suitable non-sag or other manufacturer-approved sealant.
How often should an RV roof be inspected?
Follow the RV and roof manufacturers’ inspection schedules. We recommend regular inspections, including before periods of heavy rain and after severe weather or events that may have affected the roof.
Does new roof sealant guarantee that my RV will not leak?
No. Roof sealant is one part of the RV’s water-management system. Leaks may also originate from damaged membranes, loose components, windows, sidewalls, or other locations.
Why does RV roof sealant bubble?
Possible causes include application conditions, trapped air, substrate moisture, contamination, or curing behavior. Bubbles should be evaluated rather than automatically considered normal or defective.
Can I use Dicor lap sealant on a TPO or EPDM RV roof?
Dicor manufactures sealants for various RV roofing applications, but compatibility depends on the specific product and roof system. Confirm the manufacturer’s approved uses before application.
How long does an RV roof resealing service take?
The time depends on the RV’s size, the number of seams and penetrations, the condition of the existing sealant, the amount of preparation needed, and whether repairs are required.
What is the difference between RV roof resealing and an RV roof coating?
Roof resealing addresses designated seams, joints, moldings, and penetrations. A roof coating is a separate application involving an approved coating system over appropriate roof surfaces. They serve different purposes and are not interchangeable.
Can California RV Specialists inspect and reseal my RV roof?
Yes. We provide RV roof inspections, maintenance, resealing, coatings, and repairs at our Lodi, California facility. Contact our service department to discuss your RV and schedule an appointment.
Professional RV Roof Repairs & Resealing in Lodi, California
California RV Specialists is an independent, family-owned RV repair and maintenance facility serving RV owners since 2003.
Our roof-related services include:
- RV roof inspections
- RV roof resealing
- Roof sealant removal and replacement
- RV roof leak diagnosis
- RV roof coatings
- RV roof replacement
- Exterior body resealing
- Water damage inspection and repairs
We service fifth wheels, travel trailers, toy haulers, motorhomes, truck campers, and other recreational vehicles.
Whether you are dealing with deteriorating roof sealant, an existing water leak, or simply want to stay ahead of maintenance, our team can help evaluate the condition of your RV.
Schedule Your RV Roof Inspection or Resealing Service
California RV Specialists, LLC
200 S. Cherokee Lane
Lodi, CA 95240
Phone: (209) 263-7040
Email: service@calrvspecialists.com
Website: https://www.calrvspecialists.com
We repair the RV you own — we don’t sell you a new one.
More RV Maintenance Videos & Owner Education
Want to learn more about RV roof repairs, maintenance, suspension systems, electrical troubleshooting, and other common RV problems?
Visit our YouTube channel:
https://www.youtube.com/@yourrvspecialists
In the RV Shop with Dustin shares real-world repair experiences, technician demonstrations, product information, and practical RV maintenance advice.
You can also join our RV Repair Shop Tips & Advice Facebook community:
https://www.facebook.com/groups/rvrepairshoptipsandadvice
Helping RV Owners Since 2003 — California RV Specialists, Lodi, California.