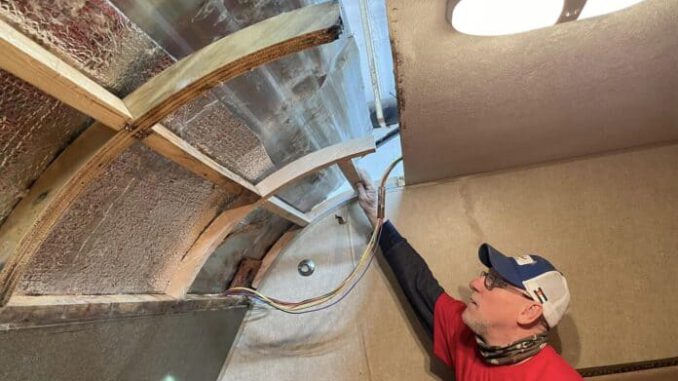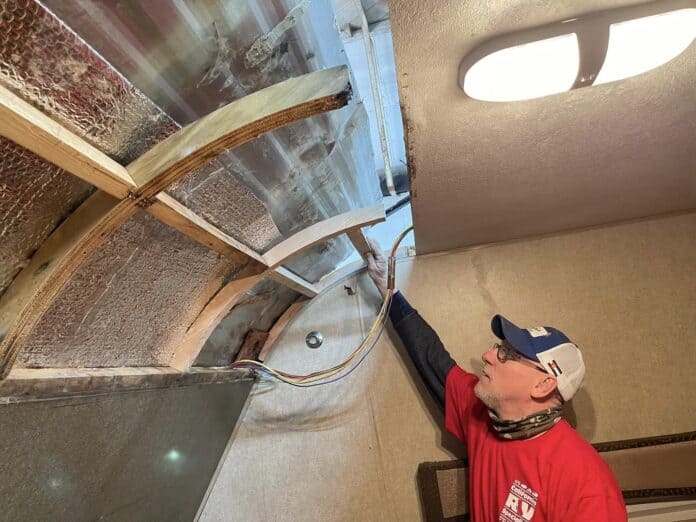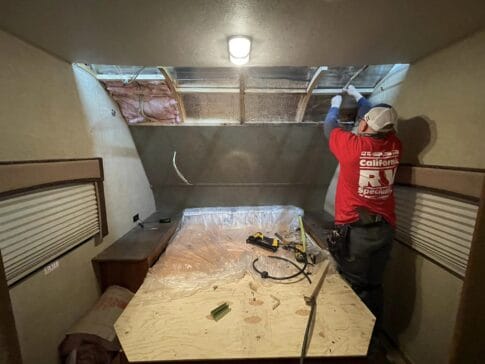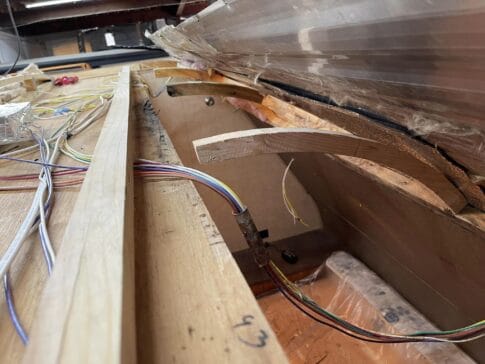

Repairing water damage in an RV is essential to maintain its structural integrity and prevent further issues like mold and rot. Here are some general steps to guide you through the process of repairing water damage in an RV:
- Identify the extent of the damage: Before starting any repairs, carefully inspect the entire RV to assess the areas affected by water damage. Look for soft spots in the flooring, discoloration on walls or ceilings, and signs of mold or mildew.

- Dry the affected areas: If the water damage is recent and there is standing water or excessive moisture, it’s crucial to dry out the affected areas as soon as possible. Use fans, dehumidifiers, and open windows to improve ventilation and accelerate the drying process.
- Remove damaged materials: Once the area is dry, you’ll need to remove the damaged materials. This may include rotting wood, soaked insulation, or waterlogged panels. Be sure to wear appropriate safety gear such as gloves and masks when handling potentially moldy materials.
- Replace damaged components: After removing the damaged materials, replace them with new ones. This might involve replacing sections of flooring, walls, or ceilings. Ensure you use materials that are suitable for RV use and compatible with the existing structure.

- Address leaks: To prevent future water damage, it’s crucial to identify and fix the source of the water intrusion. Check for leaks around windows, roof seams, vents, and other potential entry points. Seal any gaps or cracks and ensure all seals are watertight.
- Check electrical systems: Water damage can affect electrical components in an RV. Inspect all wiring and connections, and replace any damaged electrical components or wiring as necessary.
- Address plumbing issues: If the water damage is related to a plumbing issue, fix the problem and check for any additional damage caused by the water leak. Repair or replace damaged plumbing as needed.
- Treat for mold and mildew: If you notice any signs of mold or mildew, treat the affected areas with a suitable cleaner or mold-killing solution. Be sure to follow the manufacturer’s instructions and take appropriate safety precautions.
- Reassemble and test: After completing the repairs, reassemble the RV and test for any remaining leaks or issues. Perform a thorough inspection to ensure that all repairs were successful.
- Regular maintenance: To prevent future water damage, perform regular maintenance on your RV, such as inspecting for leaks and resealing vulnerable areas.
If the water damage is extensive or beyond your capabilities, consider seeking professional help from an RV repair specialist or a service center experienced in handling water damage repairs. Remember that proper and timely repairs are crucial to preserving the value and longevity of your RV.
Make sure you check out Dustin’s website, California RV Specialists, and their YouTube channel for more helpful information, and see our published articles on RVtravel.com and other social media pages.
