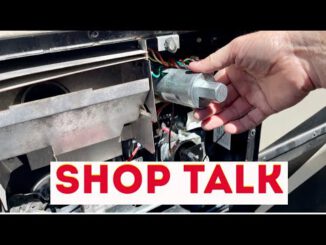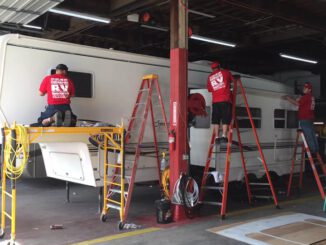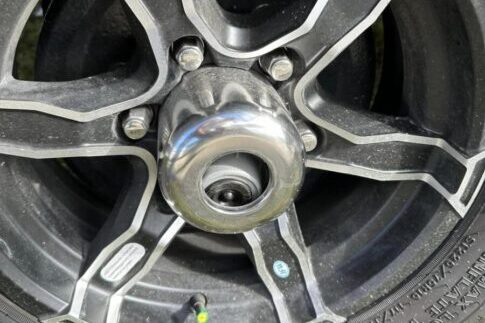
Join Dustin In The RV Shop as he reminds you prior to embarking on an RV adventure involves more than just hitting the open road. Ensuring that your RV is in top condition is crucial for a safe and trouble-free journey. One often overlooked but critical aspect is checking the axle dust caps. These small components play a big role in protecting your RV’s wheel bearings, and their loss during travel can lead to potential damage.

In this guide, Dustin will walk you through a simple pre-travel checklist to ensure your RV axle dust caps are securely in place.
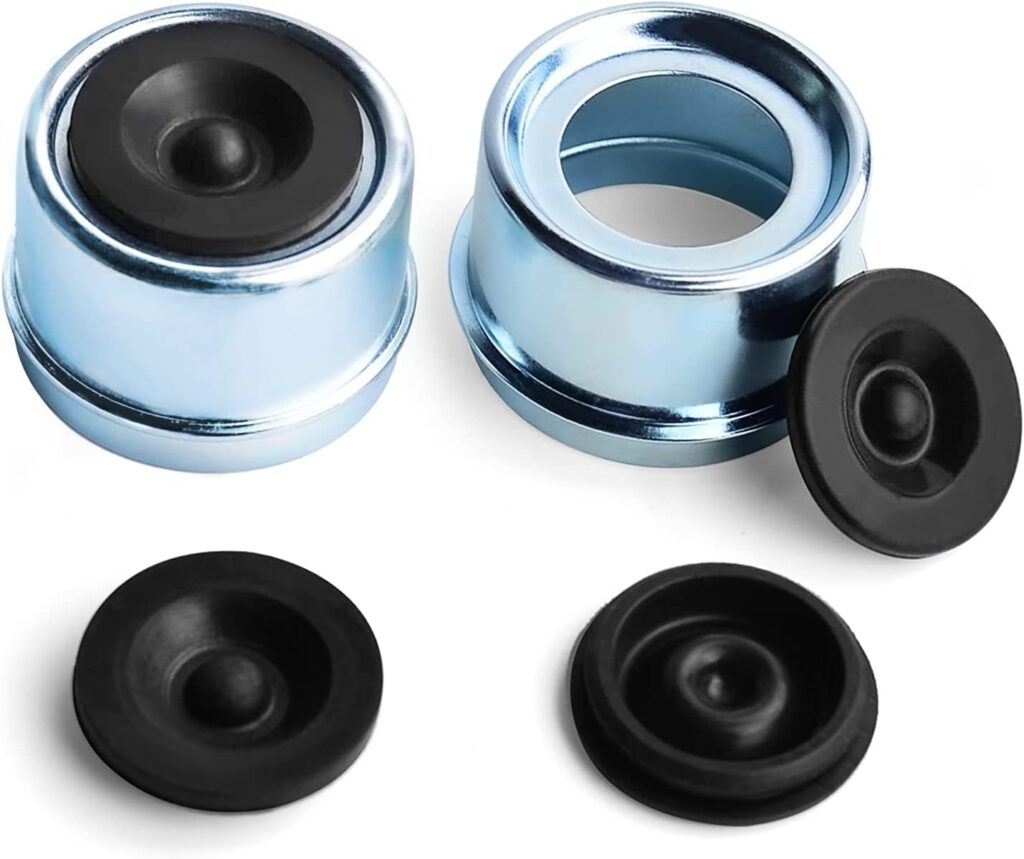
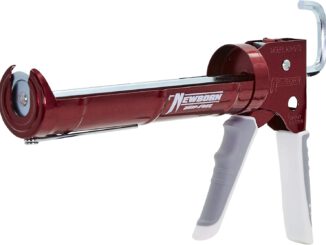
Step 1: Gather Necessary Tools Before you start, gather the tools you’ll need for the inspection. These may include a lug wrench, hub cap removal tool, dust cap tool and a mallet set.
Step 2: Lift the RV To inspect the axle dust caps, you’ll need to lift your RV. Use a jack to raise the vehicle, ensuring it is stable and secure on level ground. Follow your RV’s manufacturer guidelines for proper jacking points.
Step 3: Remove the Wheel With the RV lifted, use the lug wrench to remove the wheel from the hub. Take care to set the lug nuts aside in a safe place.
Step 4: Inspect the Axle Dust Cap Once the wheel is removed, inspect the axle dust cap. Check for any signs of damage, such as dents, bends, or cracks. Additionally, ensure that the cap is securely seated in the hub. If the dust cap appears loose or damaged, it’s essential to address the issue before hitting the road.
Step 5: Reinstall or Replace If the dust cap is loose but undamaged, carefully tap it back into place using a mallet. Ensure it is seated securely, and check for any movement. If the dust cap is damaged or missing, it’s crucial to replace it before continuing your journey.
Step 6: Lubricate the Bearings (Optional) While inspecting the axle dust caps, take the opportunity to check the condition of the wheel bearings. If necessary, apply lubricant to ensure smooth operation and reduce friction. (Please don’t over lubricate bearings)
Step 7: Reassemble and use a torque wrench after ensuring the axle dust cap is secure and the wheel bearings are properly lubricated, reassemble the wheel onto the hub. Use the lug wrench to tighten the lug nuts to the manufacturer’s recommended torque specifications.
Regularly checking your RV axle dust caps is a simple yet vital step in ensuring the safety and longevity of your RV’s wheel bearings. By incorporating this quick inspection into your pre-travel routine, you can catch potential issues early and enjoy a worry-free journey on the open road. Remember, a little preventative maintenance goes a long way in keeping your RV adventure rolling smoothly.
DIY Crew:
Having the right tools is huge when doing service work.
- Dust Cap Installation Tool – Please make sure to verify your size before ordering.


More from Dustin
Make sure you check out my website, California RV Specialists, and our YouTube channel for more helpful information, and see our published articles on RVtravel.com and other social media pages.

