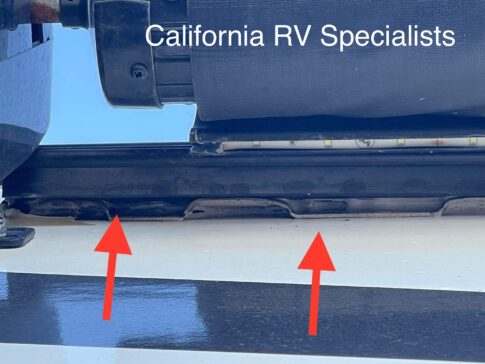
During our inspection process we have been seeing this more and more RV power awning rails that are pulled loose from the side walls of the units. This can happen for a number of reasons, here are some examples: depending on travel conditions, road vibration, high winds, and hard rain, even flexing from the tube, the awning rails sometimes take a lot of abuse.
Please make sure to add this inspection as part of your regular preventive maintenance, verify with your awning manufacture to ensure that you do not need a cradle due to the length. Because if tube flex during travel this too could be causing the above issue.
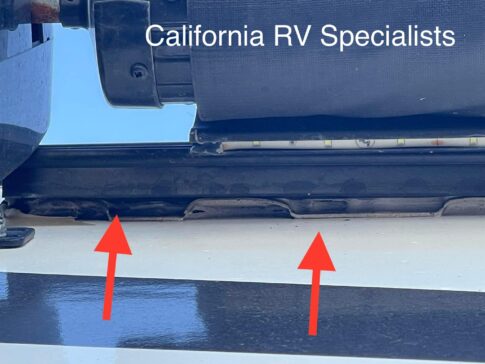
If the rail comes loose in travel, it can cause the awning to detach from the RV or even parachute open in travel. If you see this please make sure to contact your local repair shop or dealership to have repaired.
Advertising
If your awning rail has come loose, you’ll need to remove your insert molding in order to check and tighten the screws. If the screw hole is stripped out, then you will need to install a tri-fold rivet.
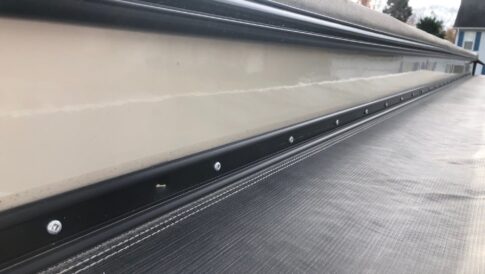
If needed, you can pre-drill 3/16” additional holes every 3 inches between the screws and add some additional fasteners in place.
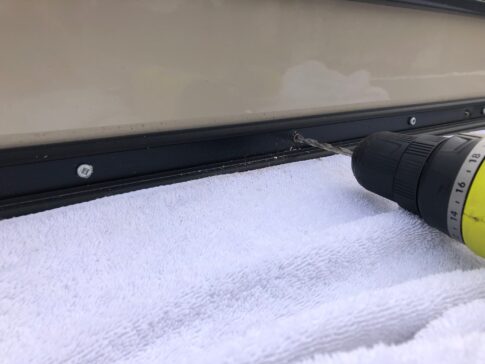
We use these 3/16 tri-fold rivets all the time. I would say that 5 out of 10 units that come into the shop have loose awning rail moldings.
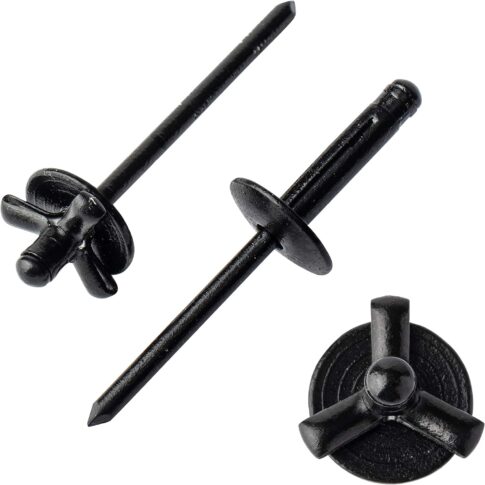
By adding rivets you will ensure that your rail will never come loose again.
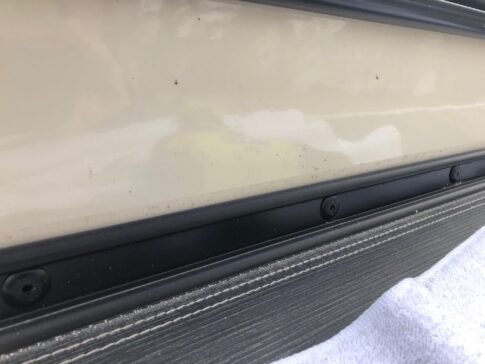
Make sure to triple-check your awnings and help to spread the word, travel safely and thanks for following us on RVtravel.com.
DIY Tools and Supplies Needed
- Link for rivets
- Link for rivet gun
- Link for drill bits
- Pan Head Metal RV Screws – Black or White
- Dripless Caulking GunGeocel Pro Flex RV Flexible Sealant – White, Clear or Black
- CRL Chisel Tip Scraper Tool – Pack of 5
- Acrysol Body Solvent CleanerDicor Lap Sealant – White, Black, Ivory, Tan, Gray
More From Dustin
Make sure you check out Dustin’s website, California RV Specialists, and their YouTube channel for more helpful information, and other social med
